Ago 23, 2019
¿Cómo utilizar mi dispositivo IQOS? - Tutorial e instrucciones para una correcta utilización, carga y limpieza

- Introduce la unidad de tabaco para calentar (para IQOS 3 MULTI tendrás que deslizar la tapa primero).
- Presiónala suavemente hasta la línea del filtro, sin girarla.
- Pulsa el botón hasta que el dispositivo vibre y la luz permanezca blanca y fija.
- El uso regular del dispositivo garantizará el buen estado del mismo.
- La exposición al sol, al frío o a zonas de mucha humedad podrán influir en el óptimo rendimiento de IQOS, por lo que aconsejamos tomar precaución en el uso del dispositivo si te encuentras en lugares de temperaturas extremas de frío o calor y/o de humedad.
- Ten precaución a la hora de introducir las unidades de tabaco para calentar dentro de IQOS, hazlo de forma suave, sin girar en ningún momento la unidad de tabaco, ya que este movimiento podría dañar la lámina de calentamiento que se encuentra en el interior del dispositivo.
- Por último, la carga y limpieza son dos aspectos fundamentales en el cuidado de tu dispositivo. A continuación, veremos en detalle cómo realizar estas operaciones.
- Introduce el dispositivo dentro del cargador (en cualquier orientación para el IQOS 3 DUO).
- Conecta el cable USB al cargador.
- Conecta el cable USB al adaptador de corriente y éste a la red eléctrica, la luz pequeña del cargador empezará a parpadear.
- Cuando las luces dejen de parpadear, el dispositivo se habrá cargado por completo.
- Conecta el cable USB al dispositivo.
- Conecta el cable USB al adaptador de corriente y éste a la red eléctrica, la luz pequeña del cargador empezará a parpadear.
- Cuando las luces dejen de parpadear, el dispositivo se habrá cargado por completo.
¿Cómo cargar tu IQOS por primera vez?
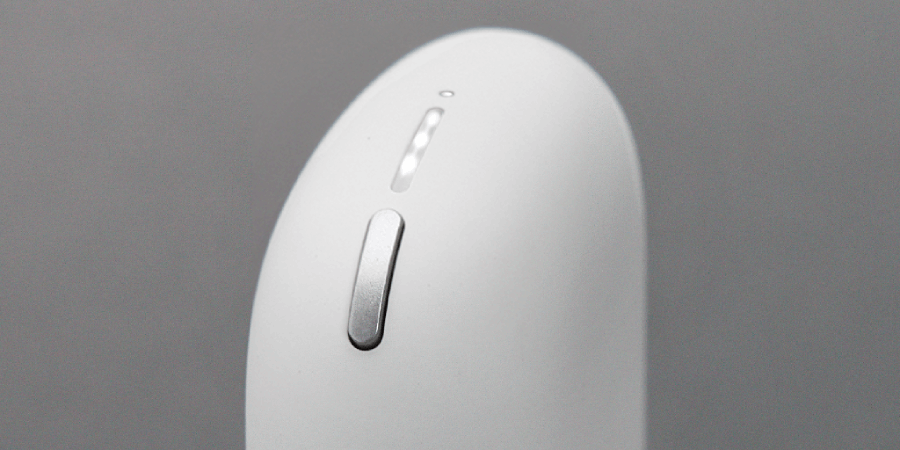
- No dejes que tu IQOS se quede sin batería, intenta ponerlo a cargar antes de que la batería se vacíe por completo. Puedes comprobar el nivel de la batería pulsando el botón del cargador para IQOS 3 DUO e IQOS 2.4 PLUS o el del mismo dispositivo para IQOS 3 MULTI.
- No olvides desconectar tu IQOS cuando la batería se haya cargado, dejar el dispositivo cargando más tiempo del necesario puede dañar la vida útil de la misma.
- Carga tu dispositivo al mismo tiempo que tu teléfono, de este modo no lo olvidarás y tendrás siempre disponible tu IQOS para cuando lo necesites.
- La forma más rápida de recargar tu IQOS es con el adaptador de corriente, ya que a través del USB del ordenador se cargará más lento de lo normal.
- IQOS 3 DUO: este dispositivo está compuesto de dos elementos, el cargador y el dispositivo en sí. El tiempo de carga del cargador es de 120 minutos cada 20 usos, mientras que la carga del dispositivo está entre los 3 minutos y 30 segundos.
- IQOS 3 MULTI: este modelo ha sido diseñado para aquellos usuarios que a veces no quieren esperar, por ello se puede usar 10 veces consecutivas sin necesidad de cargar el dispositivo entre uso y uso. Una vez que se ha utilizado 10 veces, el tiempo de carga de la batería es de 75 minutos.
- IQOS 2.4 Plus: este modelo está compuesto de cargador y dispositivo. Los tiempos de carga son: dispositivo, un promedio de 4 minutos y 10 segundos; cargador, 90 minutos cada 20 usos.
- IQOS 3 DUO: el cargador de bolsillo tiene una capacidad de 20 usos por carga, pero recuerda que el dispositivo de este modelo tiene que ser cargado en el cargador de bolsillo después de cada uso. La duración total de la vida de la batería de este dispositivo es de hasta 14.600 usos.
- IQOS 3 MULTI: este modelo diseñado para los usuarios que no quieren esperar puede usarse 10 veces consecutivas sin necesidad de cargarlo entre uso y uso. Al igual que el modelo anterior, la duración total de la batería es de hasta 14.600 usos.
- IQOS 2.4 Plus: al igual que el IQOS 3 DUO tiene una capacidad de 20 usos por carga, siendo la vida útil de la batería de hasta 7.300 usos.
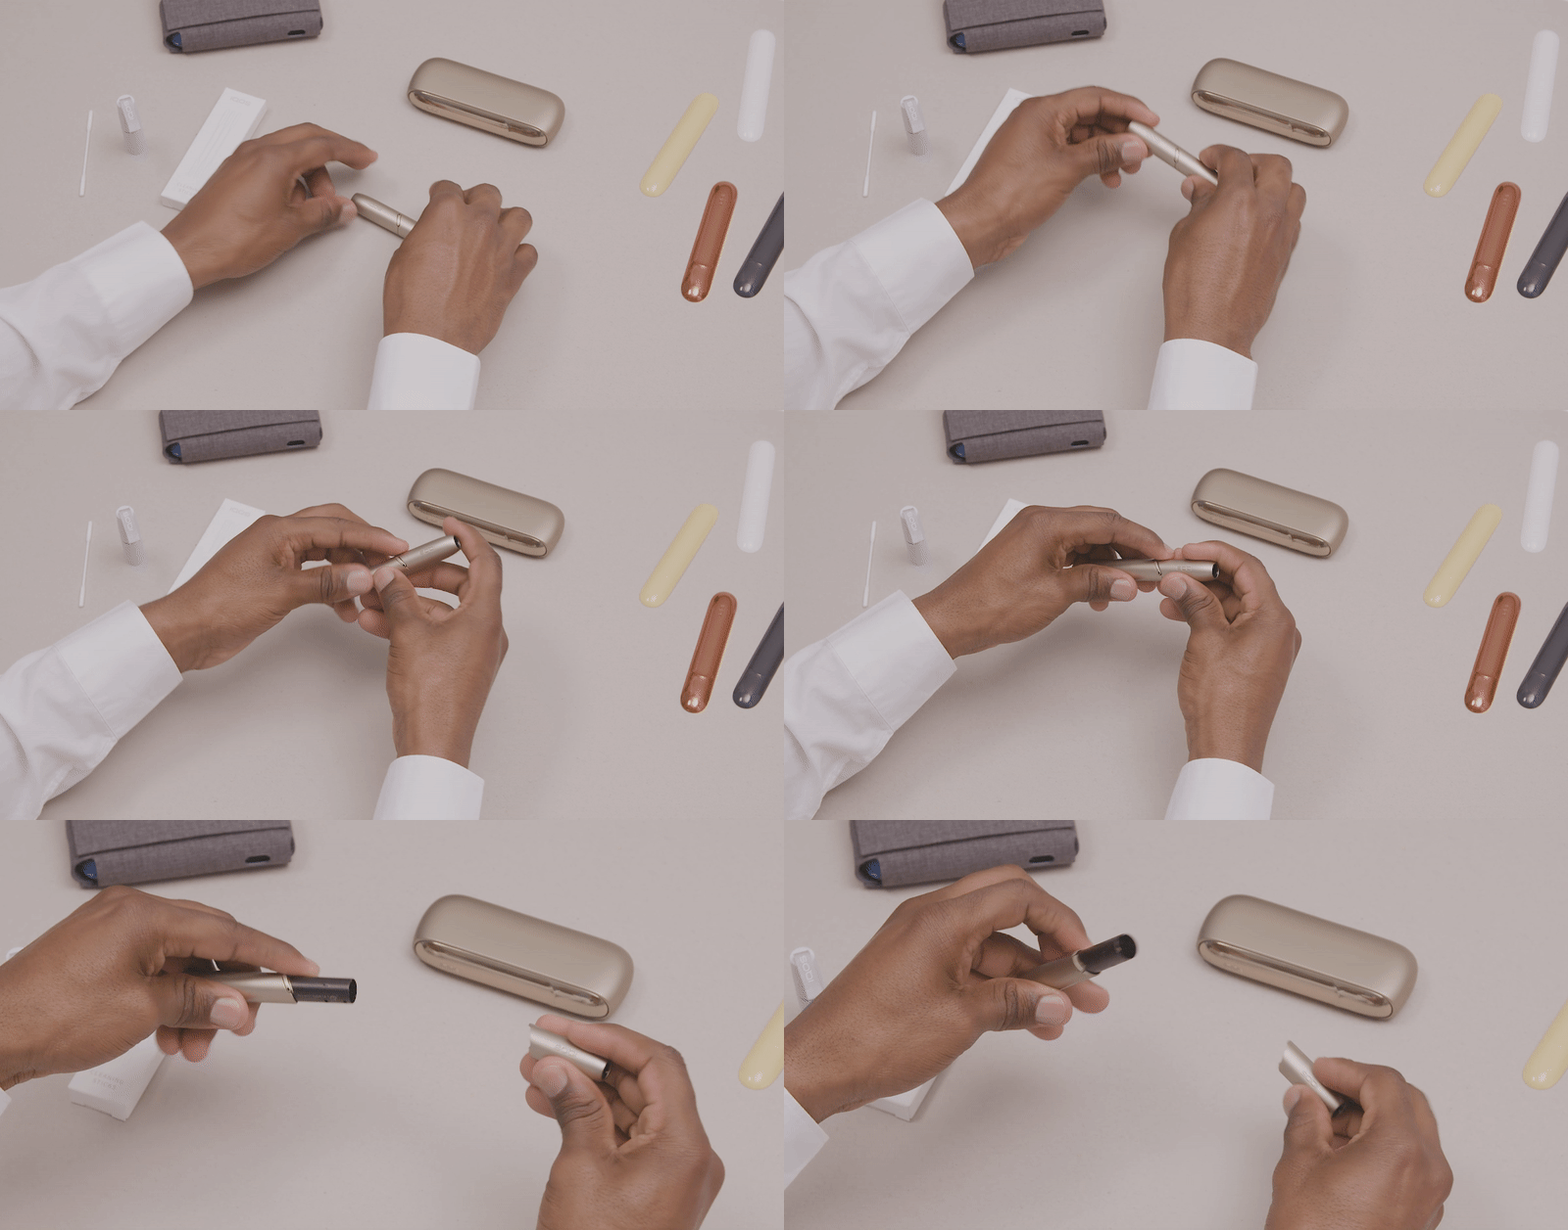
- Deja enfriar el dispositivo.
- Extrae el cabezal y sacúdelo suavemente.
- Introduce el limpiador y gíralo para una limpieza a fondo.
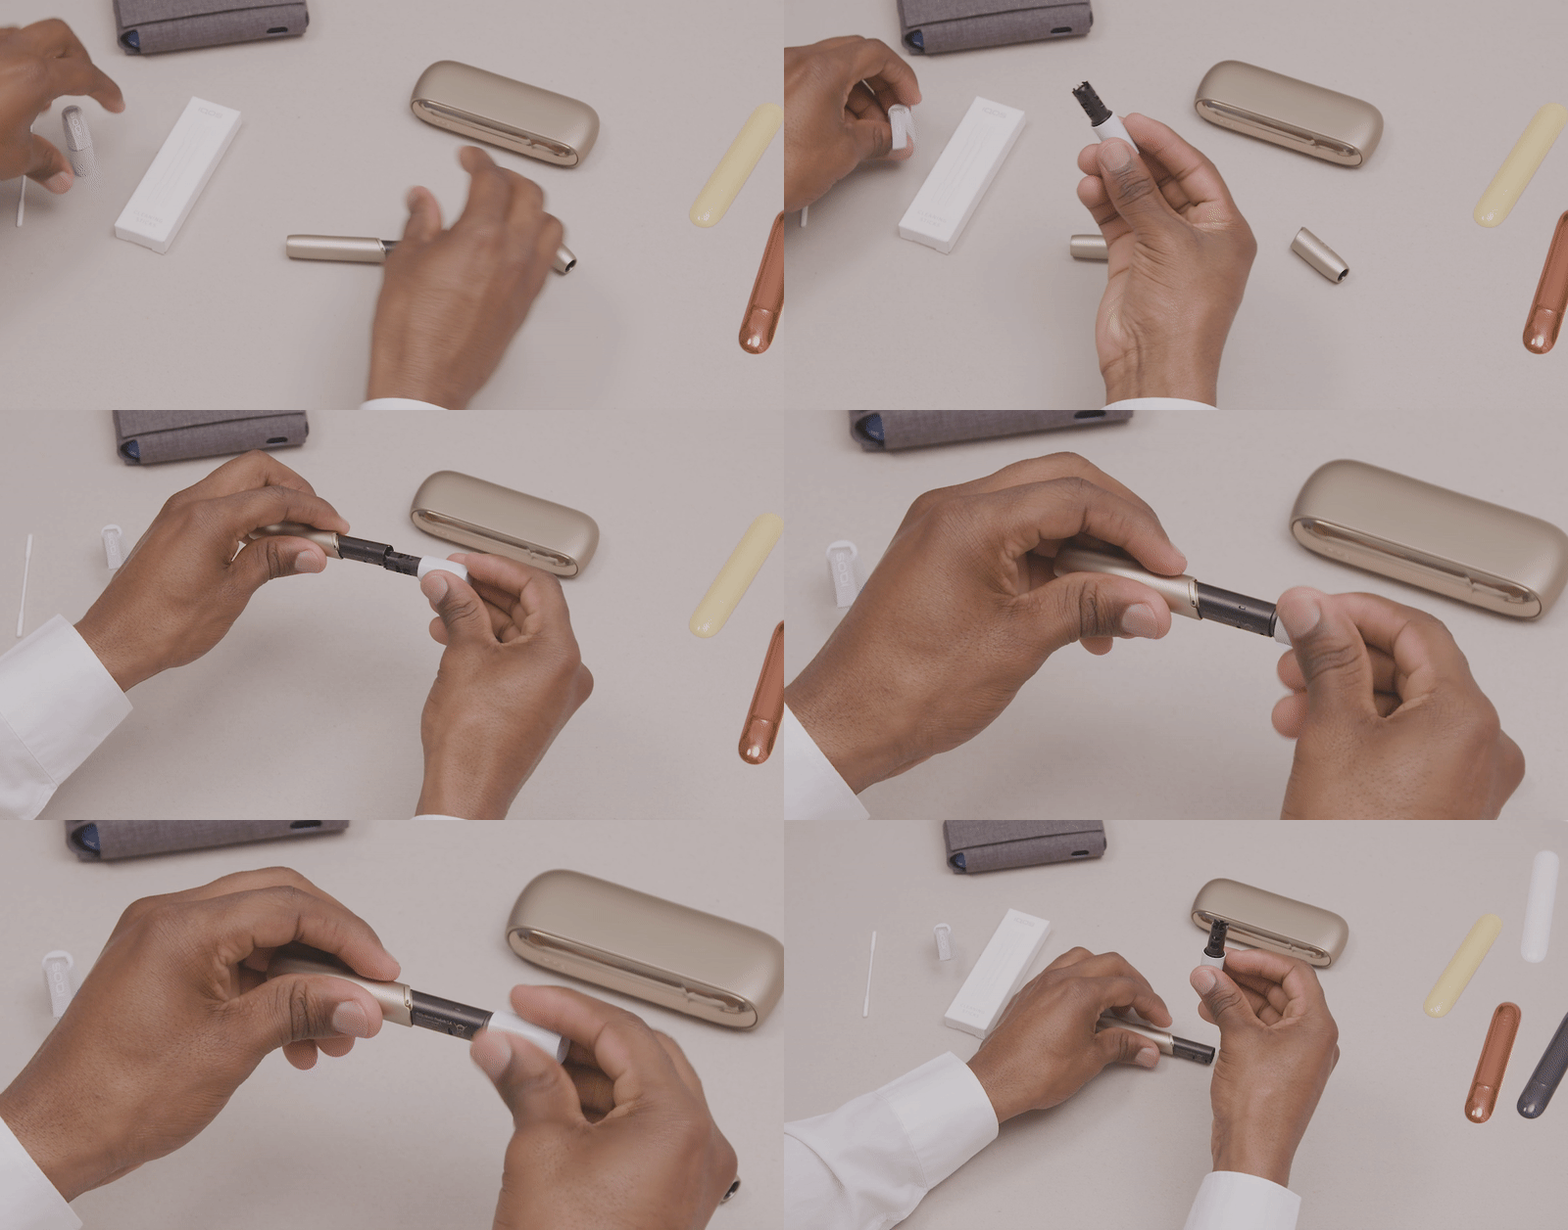
- Realiza esta acción tanto en el cuerpo del dispositivo como en el cabezal.
Cómo limpiar tu IQOS con los bastoncillos de limpieza
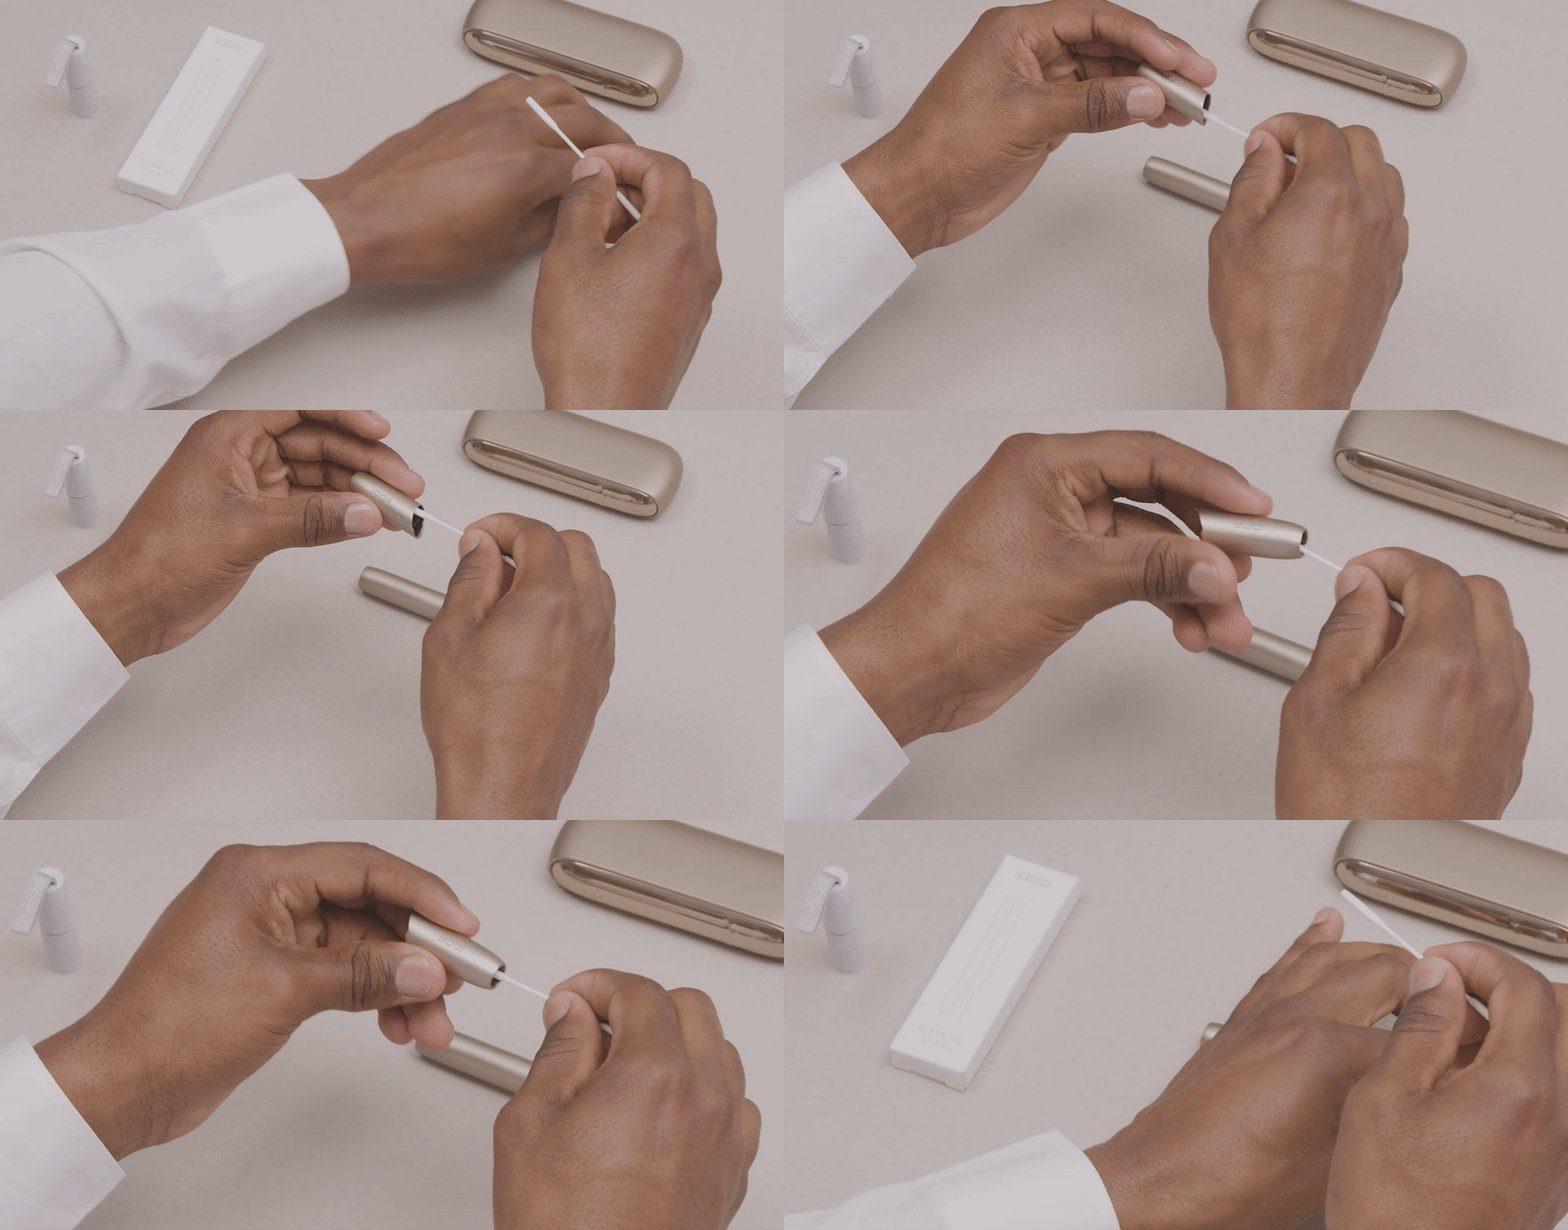
- Después de usar el limpiador introduce el bastoncillo.
- Gíralo suavemente para eliminar los posibles restos de tabaco que puedan quedar en el interior del dispositivo.
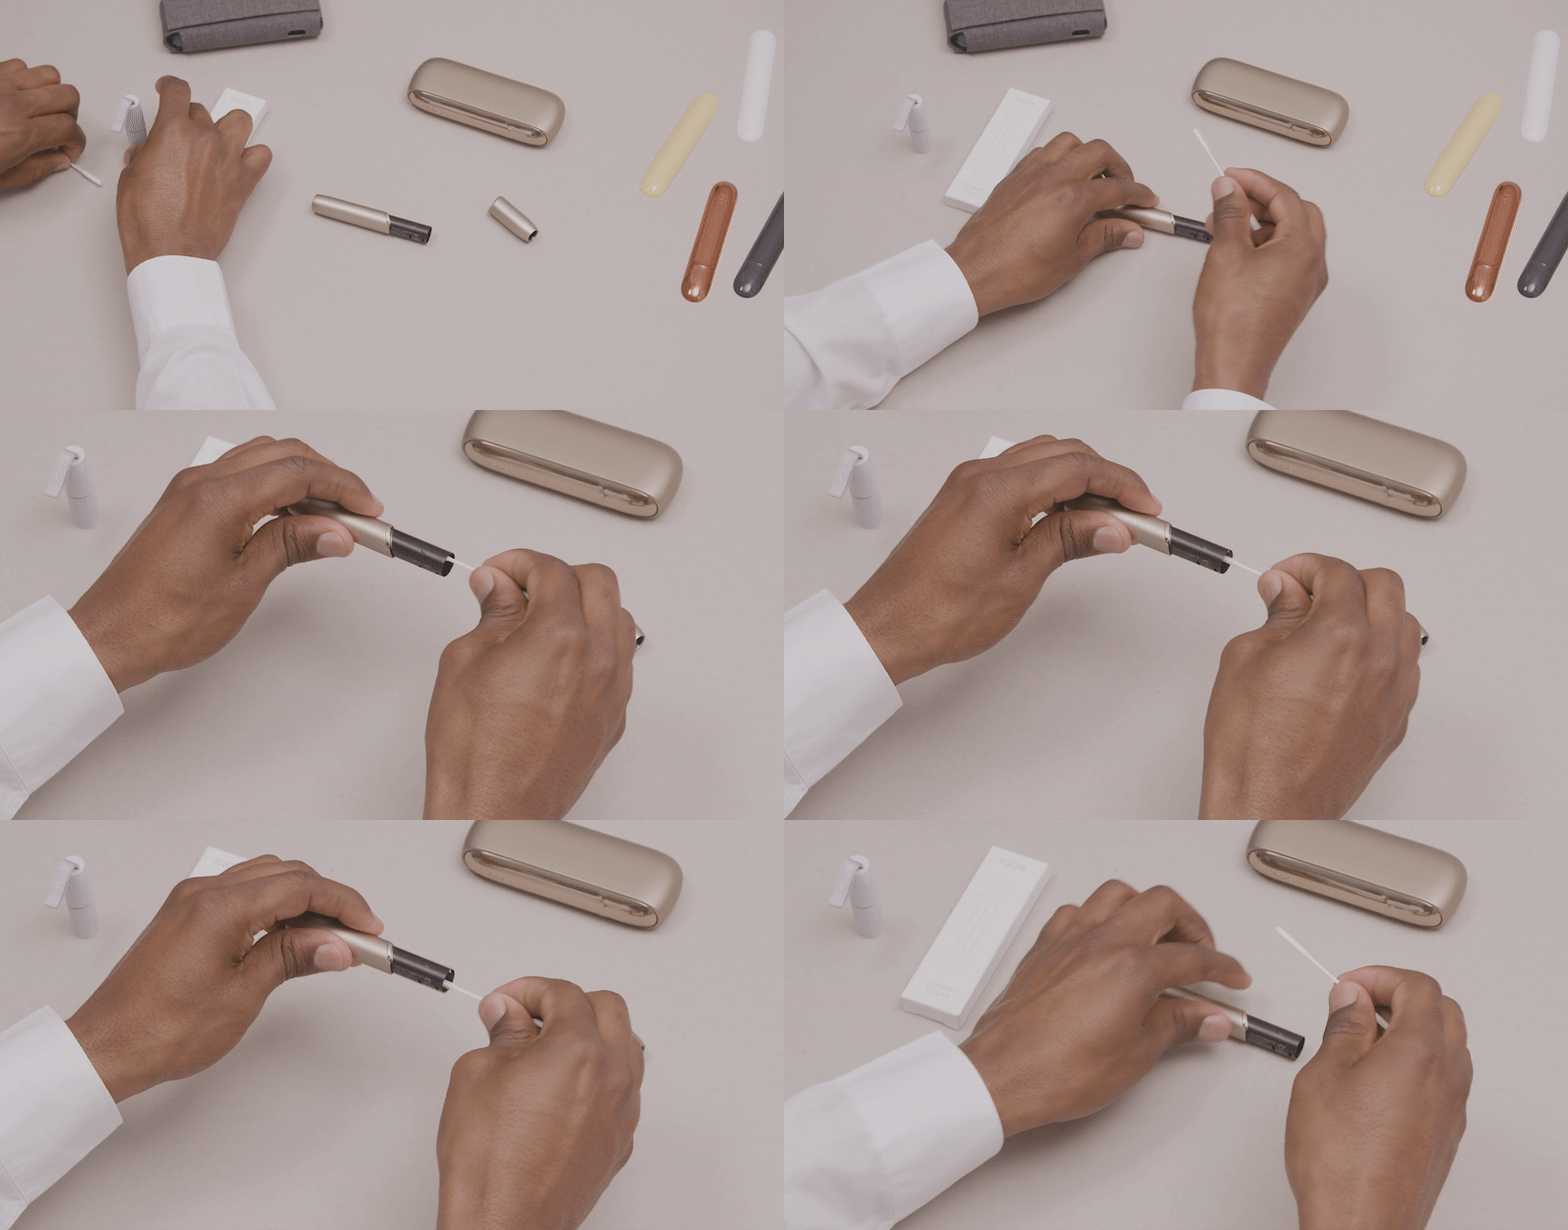
- Realiza esta acción tanto en el cuerpo del dispositivo como en el cabezal.
